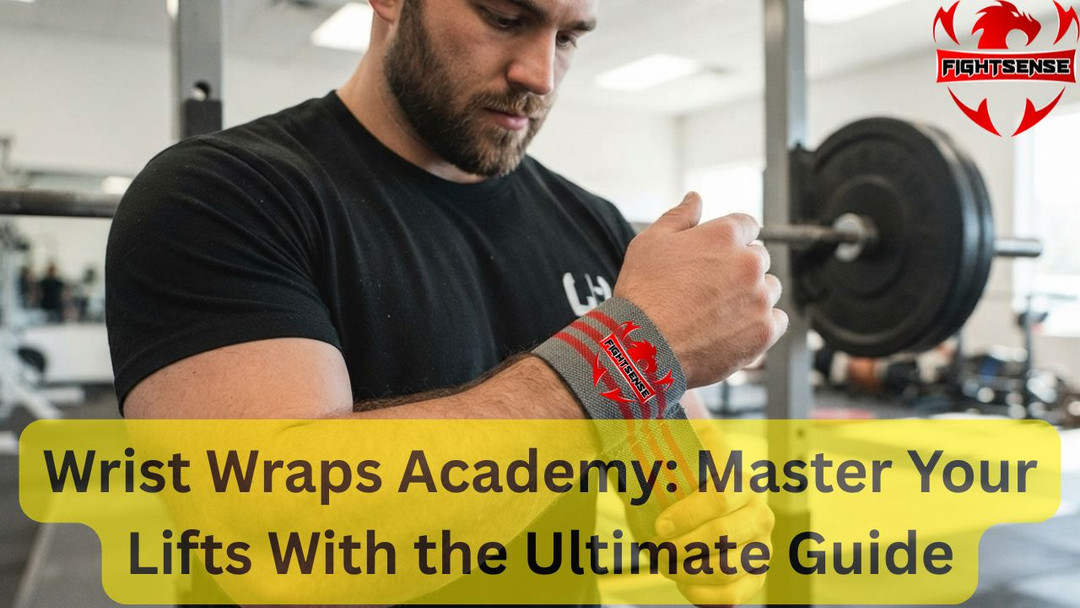
Wrist Wraps Academy: Master Your Lifts With the Ultimate Guide
Welcome to the definitive wrist wraps academy resource for weightlifters, powerlifters, and everyday fitness enthusiasts. If you have ever experienced nagging joint discomfort after heavy pressing sessions, you are certainly not alone. Heavy compound movements place immense mechanical stress on your delicate joint structures. Without proper mechanical reinforcement, your performance stalls, and your risk of injury skyrockets.
Why You Need Proper Wrist Support
Your wrists are complex networks of small bones, tendons, and ligaments. When you unrack a heavy barbell for bench presses, overhead shoulder presses, or clean and jerks, your joint can hyperextend. This structural breakdown wastes vital kinetic energy and causes joint inflammation.
By enrolling conceptually in this wrist wraps academy overview, you will learn that wraps act as an external ligament layer. They compress the joint, restrict excessive extension, and keep your hand stacked directly over your forearm bones. This alignment optimizes force transfer and preserves your joint health over years of intense training.
Anatomy of a Quality Wrist Wrap
Not all gym accessories are created equal. To pick the right gear, look closely at these core structural components:
- Thumb Loop: Anchors the band securely around your hand while you establish your tensioning layout.
- Hook-and-Loop Closure (Velcro): Industrial-grade fasteners that lock your preferred tension into place during maximal efforts.
- Elastic-Cotton Blend: A strategic combination of cotton, polyester, and rubber fibers that dictates whether the wrap behaves stiffly or flexibly.
Step-by-Step Guide: How to Apply Wrist Wraps Correctly in the Wrist Wraps Academy Framework
Applying your gear properly is vital. Follow this simple framework to secure maximum joint stability:
- Position the Thumb Loop: Slip your thumb through the loop, ensuring the fabric rests on the back side of your hand rather than deep in your palm.
- Cross the Joint: Bring the wrap down across the back of your hand so that it centers directly over the joint line.
- Apply Tension: Rotate the wrap firmly around your wrist. For heavy max-effort sets, pull tightly to restrict movement. For volume work, keep it moderately snug.
- Secure the Velcro: Press the Velcro down flat against the band. Remove your thumb from the loop if competition rules require it or if it pinches your web space.
- Check Circulation: Make a fist and flex your hand. If your fingers turn pale or tingle instantly, loosen the wrap slightly to restore healthy blood flow.
Comparison: Wrist Wraps vs. Lifting Straps vs. Belts
Choosing the right tool for your specific training goal prevents wasted effort in the gym.
|
Equipment Category |
Primary Function |
Ideal Exercises |
Key Benefit |
|
Wrist Wraps |
Bench Press, Overhead Press, Dips |
Prevents joint hyperextension under heavy loads |
|
|
Lifting Straps |
Deadlifts, Barbell Rows, Pull-Ups |
Eliminates grip fatigue on pulling movements |
|
|
Lifting Belts |
Squats, Deadlifts, Heavy Cleans |
Protects the lumbar spine and core stability |
When exploring the market for dependable training gear, options from brands like Fightsense provide solid durability and consistent joint support tailored for both beginner and intermediate lifters.
Expert Tips for Longevity and Performance
- Rotate Your Gear: Keep two pairs in your gym bag. Alternating your wraps allows the elastic fibers to recover their natural tension between workouts.
- Wash Them Gently: Hand-wash your wraps in cold water with mild detergent every few weeks. Fasten the Velcro beforehand to prevent lint buildup, and air dry them completely.
- Match Stiffness to Goal: Choose flexible cotton-heavy wraps for high-rep bodybuilding styles, and rigid polyester options for low-rep powerlifting sessions.
Common Mistakes to Avoid
- Wrapping Too Low on the Forearm: Placing the wrap too far down your arm misses the actual joint, rendering the support completely useless.
- Leaving the Thumb Loop On During Heavy Lifts: Many federations ban thumb loops on the platform because they can catch or alter hand placement. Practice lifting without looping your thumb.
- Ignoring Pain Signals: Wraps mask minor instability, but they do not cure structural injuries. Seek professional medical guidance if persistent sharp pain occurs.
Frequently Asked Questions
1. Are wrist wraps allowed in powerlifting competitions?
Yes, most powerlifting federations permit wrist wraps, provided they do not exceed specified length limits (typically 1 meter) and comply with approved brand lists.
2. Can beginners use wrist wraps?
Absolutely. Beginners benefit greatly from wraps while learning proper motor patterns under heavy axial loading, provided they do not rely on them to fix a weak grip.
3. How tight should my wraps be?
They should feel snug and restrict backward bending without cutting off your blood circulation or causing finger numbness.
4. Do wrist wraps weaken your wrists over time?
When used correctly as joint stabilizers during heavy pressing movements, they do not atrophy your muscles. They simply allow you to handle heavier loads safely.
5. What length of wrist wrap should I buy?
Shorter lengths (12 to 18 inches) offer quick application and moderate flexibility, whereas longer lengths (24 to 36 inches) provide maximal casting support for extreme loads.
6. Should I wear wraps for pulling exercises?
No. Wrist wraps are designed for pushing motions. For pulling movements where grip fails, use lifting straps instead.
7. How do I clean smelly gym wraps?
Soak them in warm water with a dash of antibacterial soap, scrub gently, rinse, and let them air dry completely away from direct sunlight.
8. What is the difference between cotton and synthetic wraps?
Cotton blends offer a softer, more forgiving stretch, while heavy-duty nylon-poly blends provide stiffer casting rigidity for maximum weight support.
Conclusion
Mastering your gear is an essential step toward unlocking your true physical potential. By understanding the mechanical value of joint support, selecting the right equipment, and applying it with precision, you protect your body while chasing aggressive personal records. Implement these strategies during your next training session, keep your form strict, and watch your strength numbers climb safely.